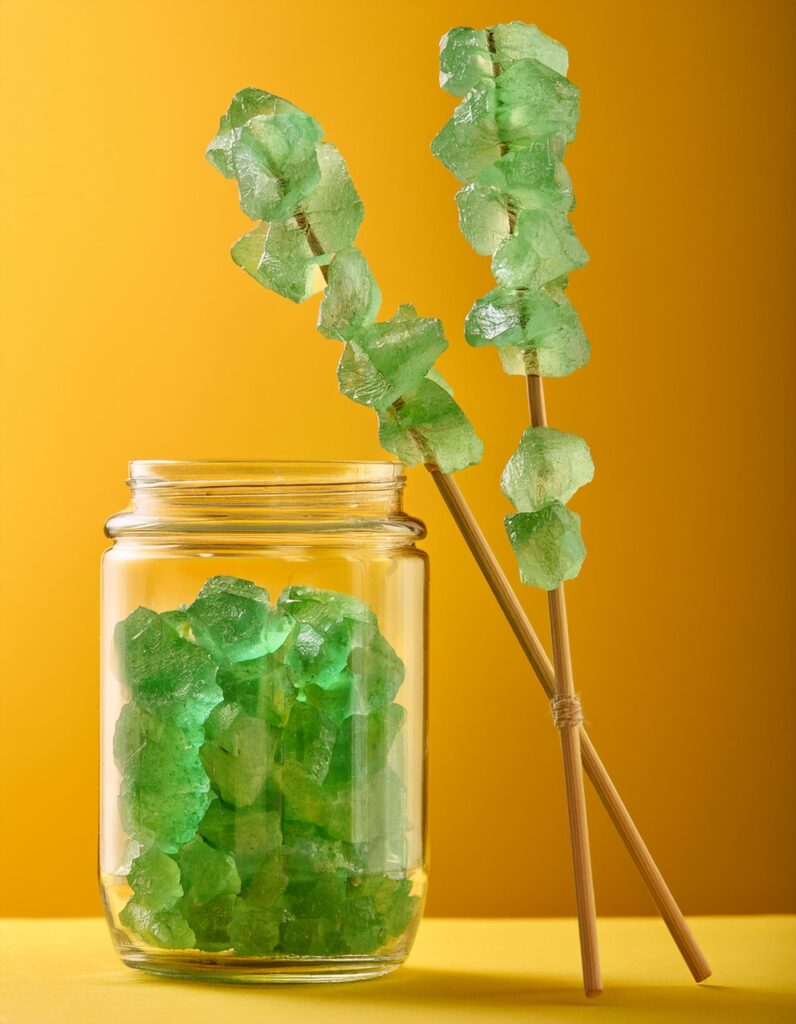
Sweet Science: The Rock Candy Experiment
Calling all curious minds and sweet tooth enthusiasts! Are you ready to dive into a world where science meets confectionery delight? Today, we’re exploring the sparkling wonder of making rock candy at home. This isn’t just a treat for your taste buds; it’s a visual feast and a hands-on science lesson for kids (and adults!) of all ages.
Rock candy, that crystalline beauty, is not only a classic candy shop staple but also a fantastic way to introduce young scientists to the wonders of crystal growth. By boiling sugar and water, you create a super-saturated solution from which sugar crystals can grow over time. As the solution cools, sugar molecules start to settle on a prepared surface, like a skewer or string, and build upon each other to form edible crystals.
Now, let’s talk science! The branch of science at play here is chemistry, specifically the study of solutions and crystallization. When you dissolve sugar in boiling water, you’re creating a homogeneous mixture or solution. As this solution cools, it becomes supersaturated, meaning it contains more dissolved material (sugar) than it can hold in a liquid state. This is when the magic happens: the excess sugar begins to crystallize, and voilà, rock candy!
Substitutions:
– Instead of wooden skewers, try using clean popsicle sticks or even a butter knife.
– No mason jars? Any tall, narrow glass or cup will do.
– Swap out clothespins for binder clips to hold your skewers in place.
– In place of a baking sheet, use any flat tray or plate lined with parchment paper.
This experiment is a sweet way to spend time together, learn something new, and enjoy a homemade treat. So, gather your materials, and let’s grow some sugar crystals! Remember, the key to great rock candy is time and temperature control. Happy experimenting! 🍭

How to Make Rock Candy
Ingredients
INSTRUCTIONS
-
Click here for the full experiment details. Checkout the main website: One Little Project
-
Get experimenting!
-
Feed your knowledge.
-
Come back for more recipes for science!
Note
The prep time and cooking time can be changed depending on when your little(s) get involved.


